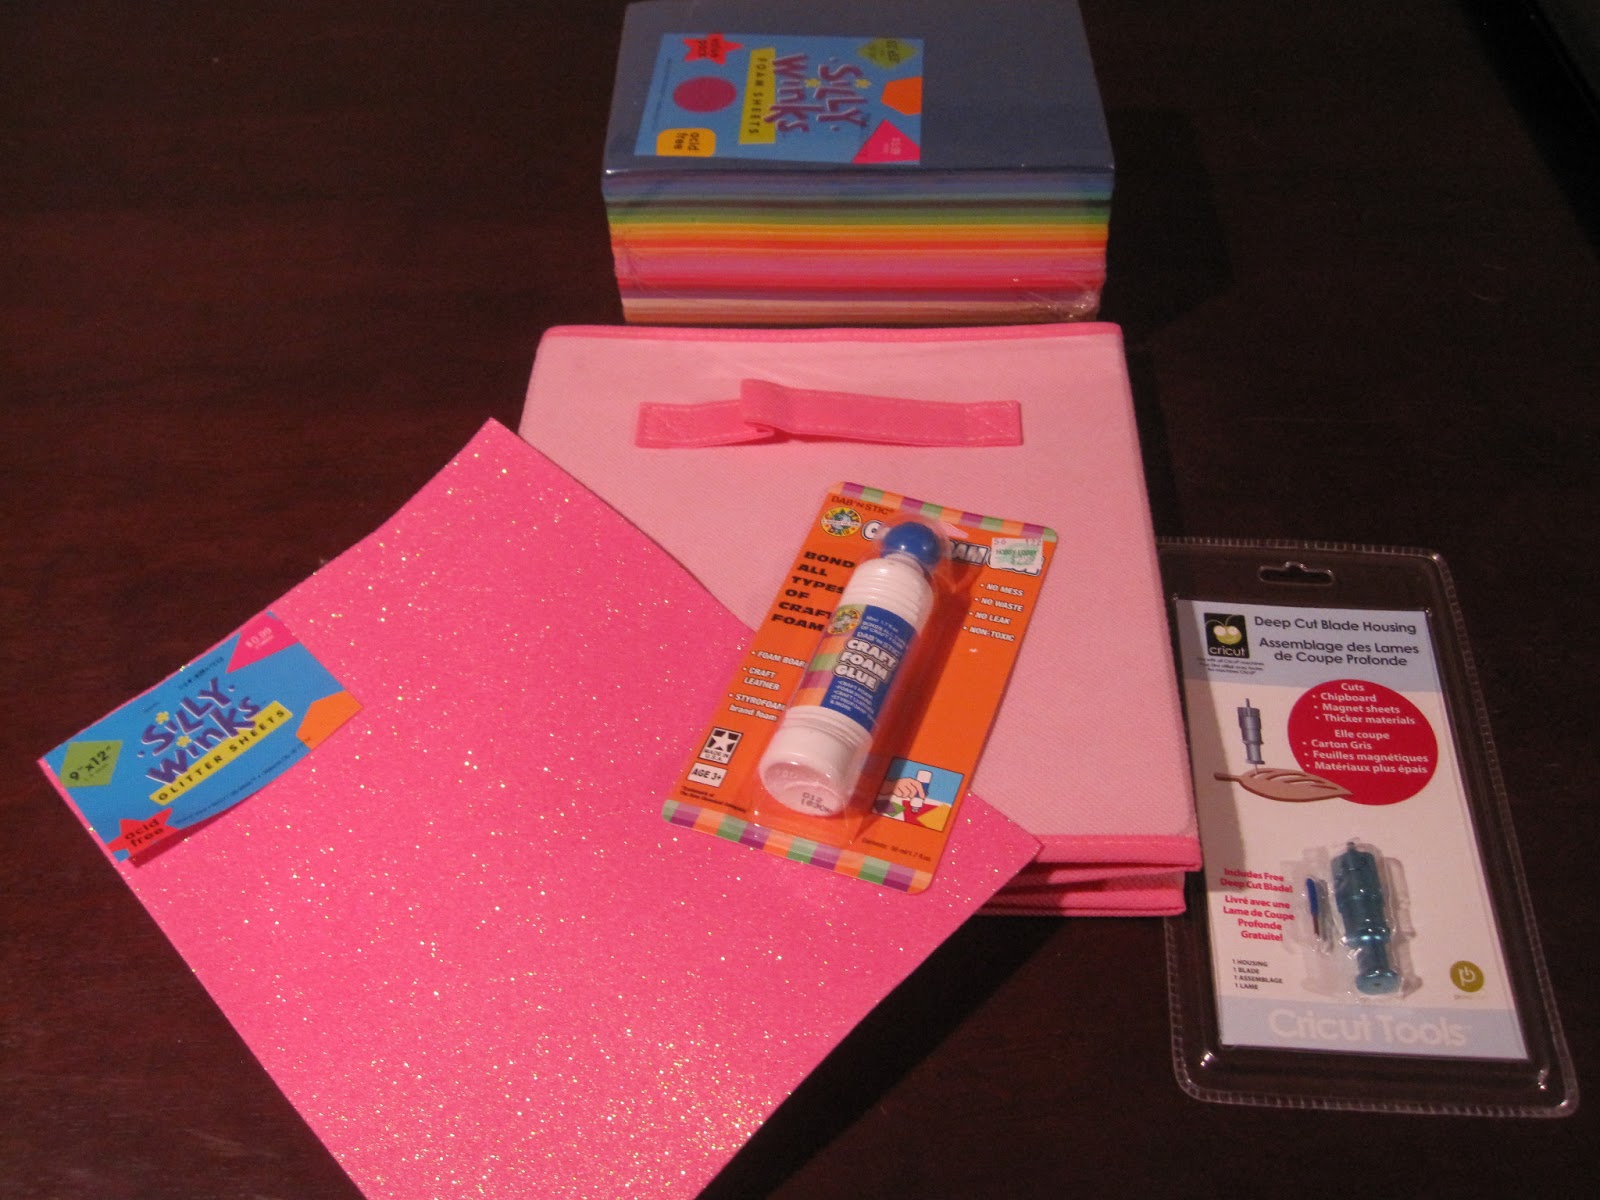
Supplies:
1 -fabric drawer (11' H x101/2' W x 10 1/2' D)
1- glitter sheet foam board (1.5mm thick)
1- bottle craft foam glue
2- sheets solid color foam board (2mm)
(also pictured are the storage cube and the deep blade and housing for the Cricut)
I debated between using foam sheets or felt but after doing a little research decided the Cricut could handle the foam and it would probably hold up better than felt. I had to buy a deep cute blade and housing but the Cricut did just fine with the foam.
Blade Settings:
Cut Speed: 5
Cut Pressure: 5
Multi-cut: 4

All of the foam was cut using either the cartridge that came loaded onto my Cricut (Cricut Essentials) or the free Craft Room Basics. For the name I used the Craft room basics font and the glitter foam. The "L" was cut 1.5w x 2.5h then I just eye balled the size of the other letters. For the flowers I used the Cricut Essentials cartridge and the solid color foam. The main part of the flower was cut with Flower 4. And the middle circle was cut with Circle 2. I used Cricut Craft Room to lay everything out and played with a couple of different images until I found a layout I liked. Once everything was cut I first used the foam glue to glue the centers on the flowers then after letting them dry overnight glued everything to the tote. I let it dry again for about 24 hours then filled the tote with a few other registry items.
If you have a Cricut and have never used Cricut Craft Room I would highly recommend it! There are some freebies that come upon download and since downloading it I randomly opened it one day to find another free font. It also allows you to view every cartridge image available so if you are thinking about buying a new cartridge you can see all the images first!
 |
| The Finished Product! |
Tips for cutting foam:
- Make sure you have the deep cutting blade and deep cutting housing.
- The rollers will leave an imprint on the foam but it goes away after a few days.
- Use a basic image (the more detail the harder it will be to cut).
- Don't use anything thicker than 2mm foam. (The 1.5mm worked ideally but I could only find it in glitter.)
- Don't be afraid to try!